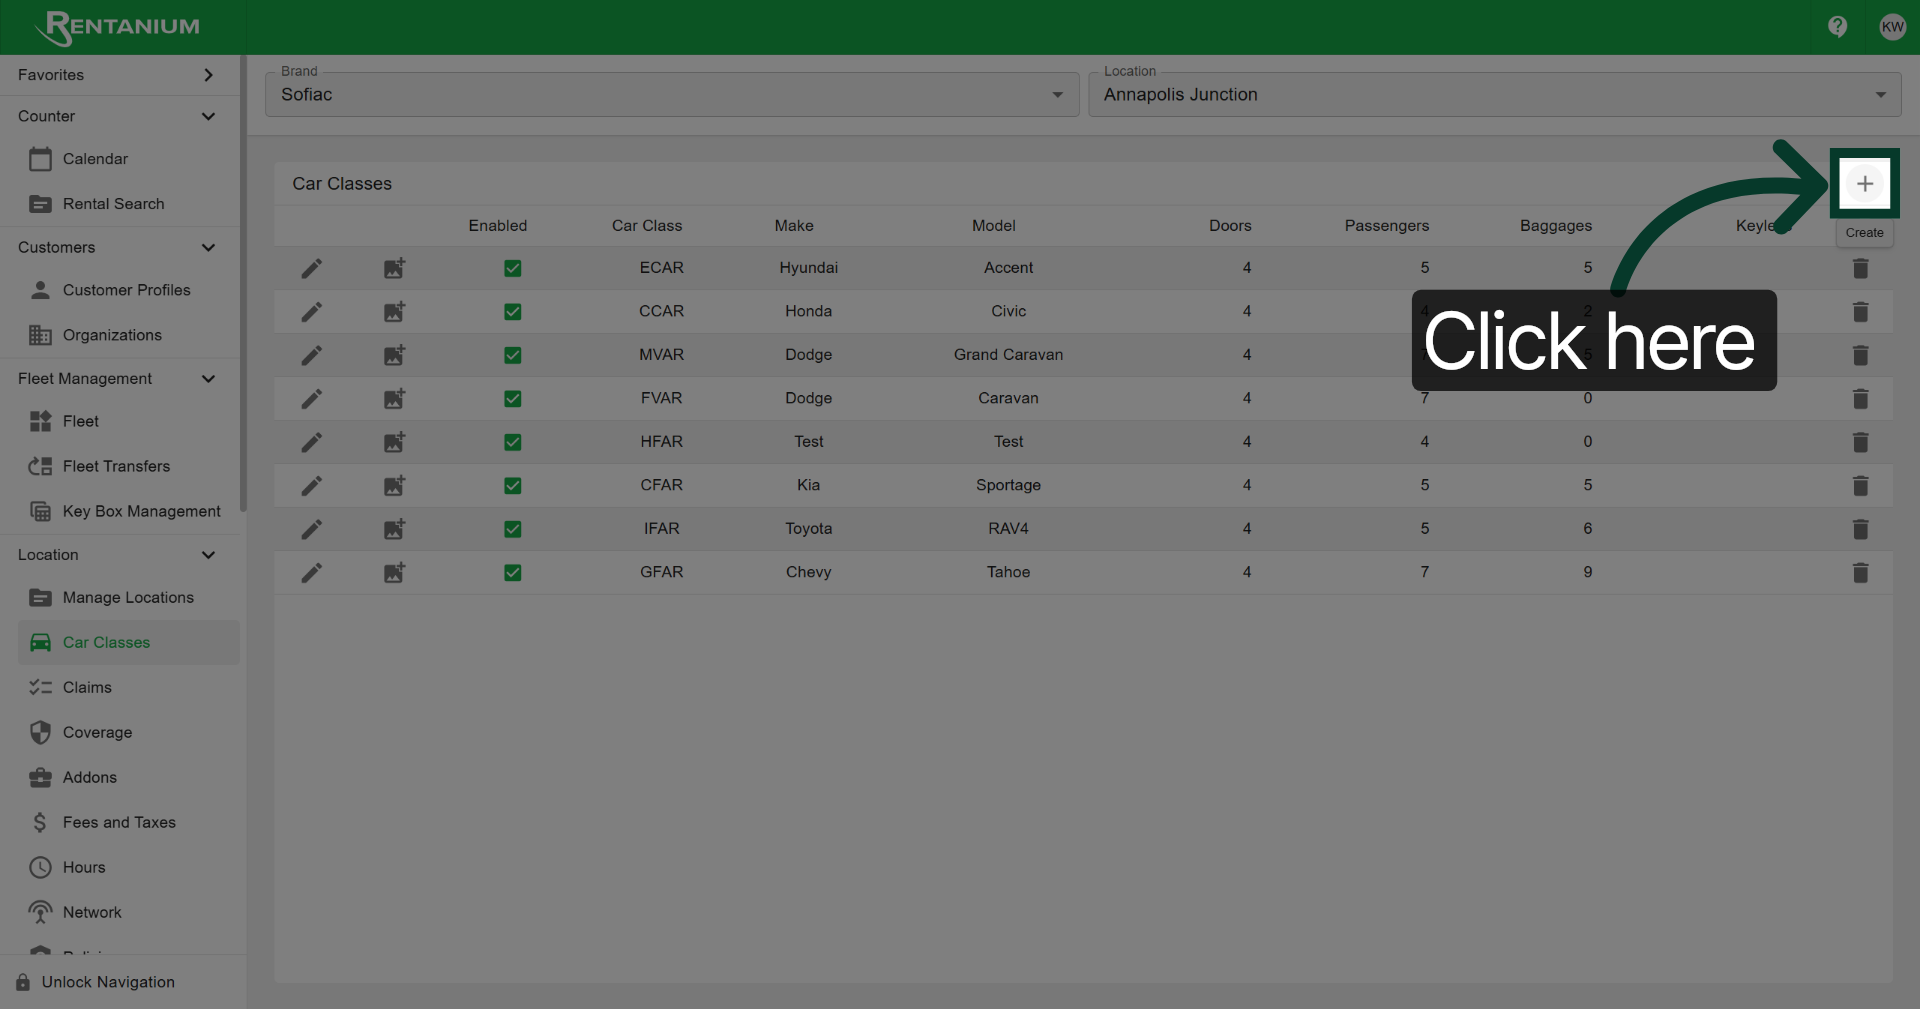
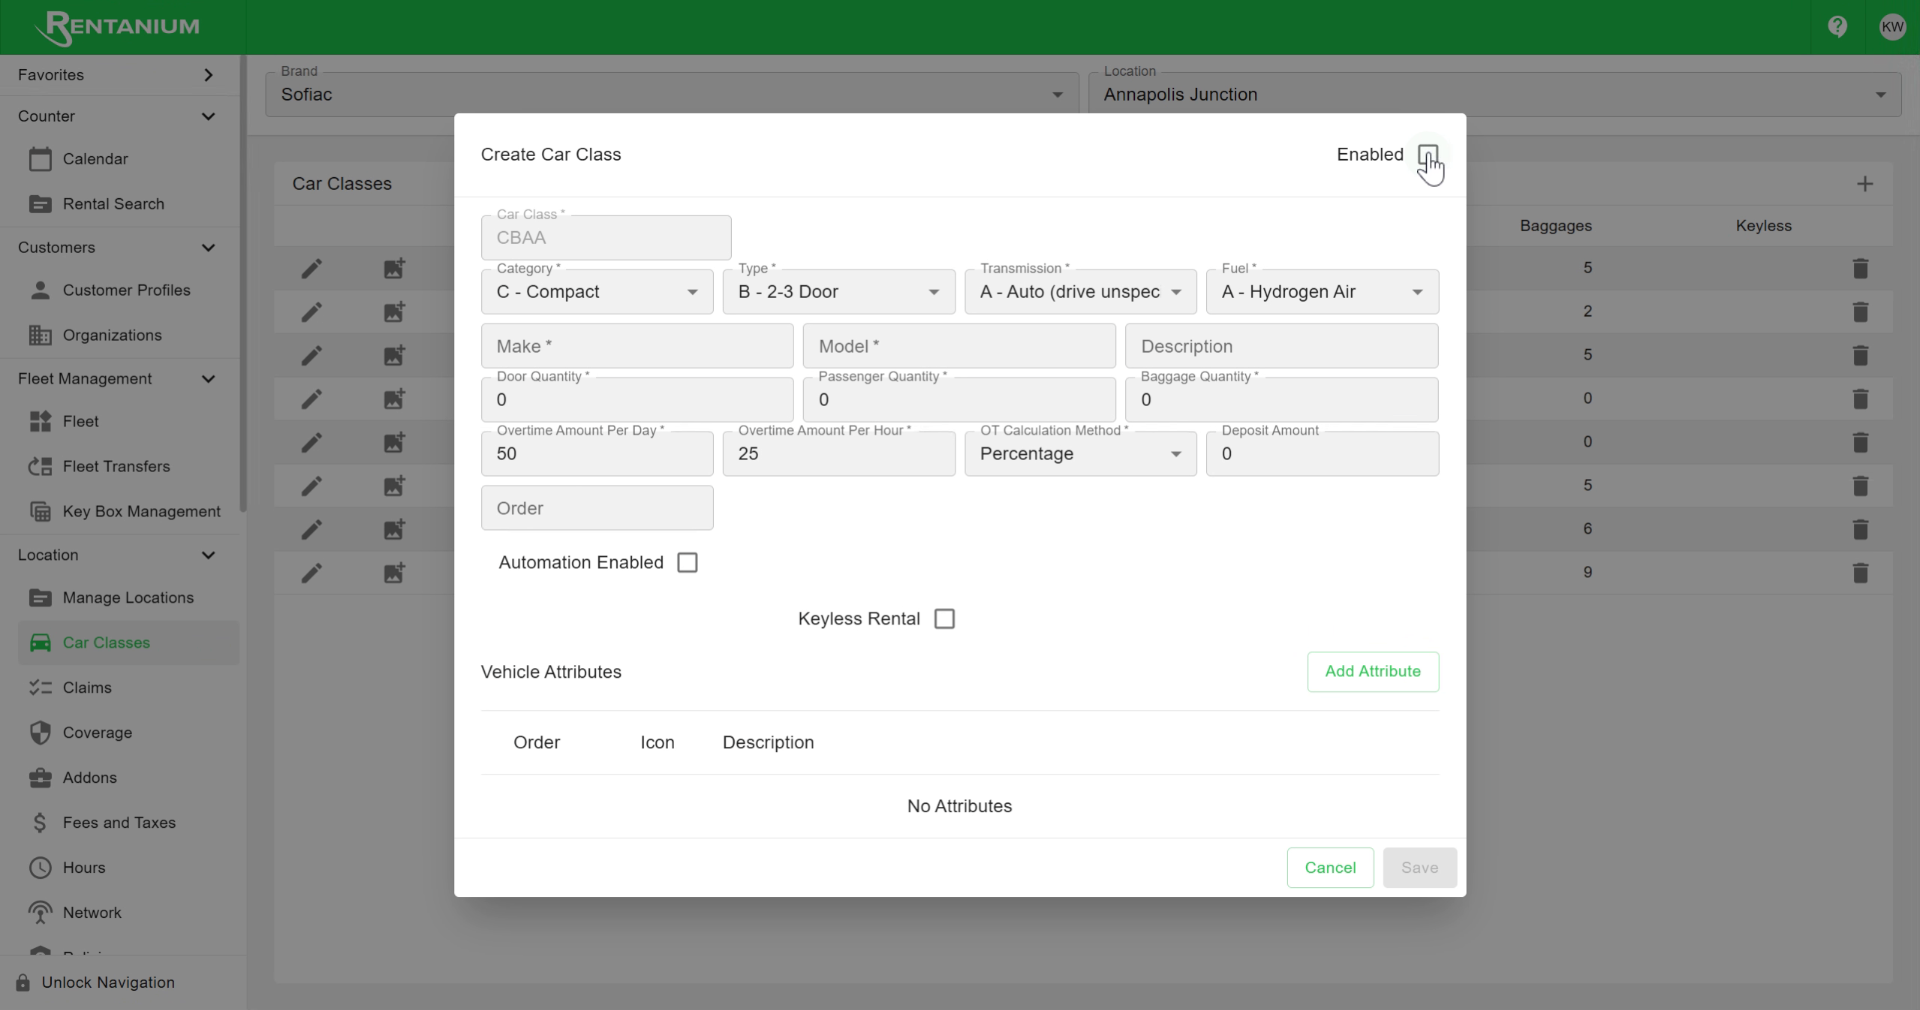
This tutorial walks you through adding a new car class in Rentanium. Navigate to Car Classes, click the plus sign to add a new entry, enable the car class by checking the box, fill in all mandatory fields, including class, category, type, transmission, fuel type, make, model, and passenger and baggage quantities, enter the deposit amount, then click Save to apply your changes.
01
Access Car Classes Section
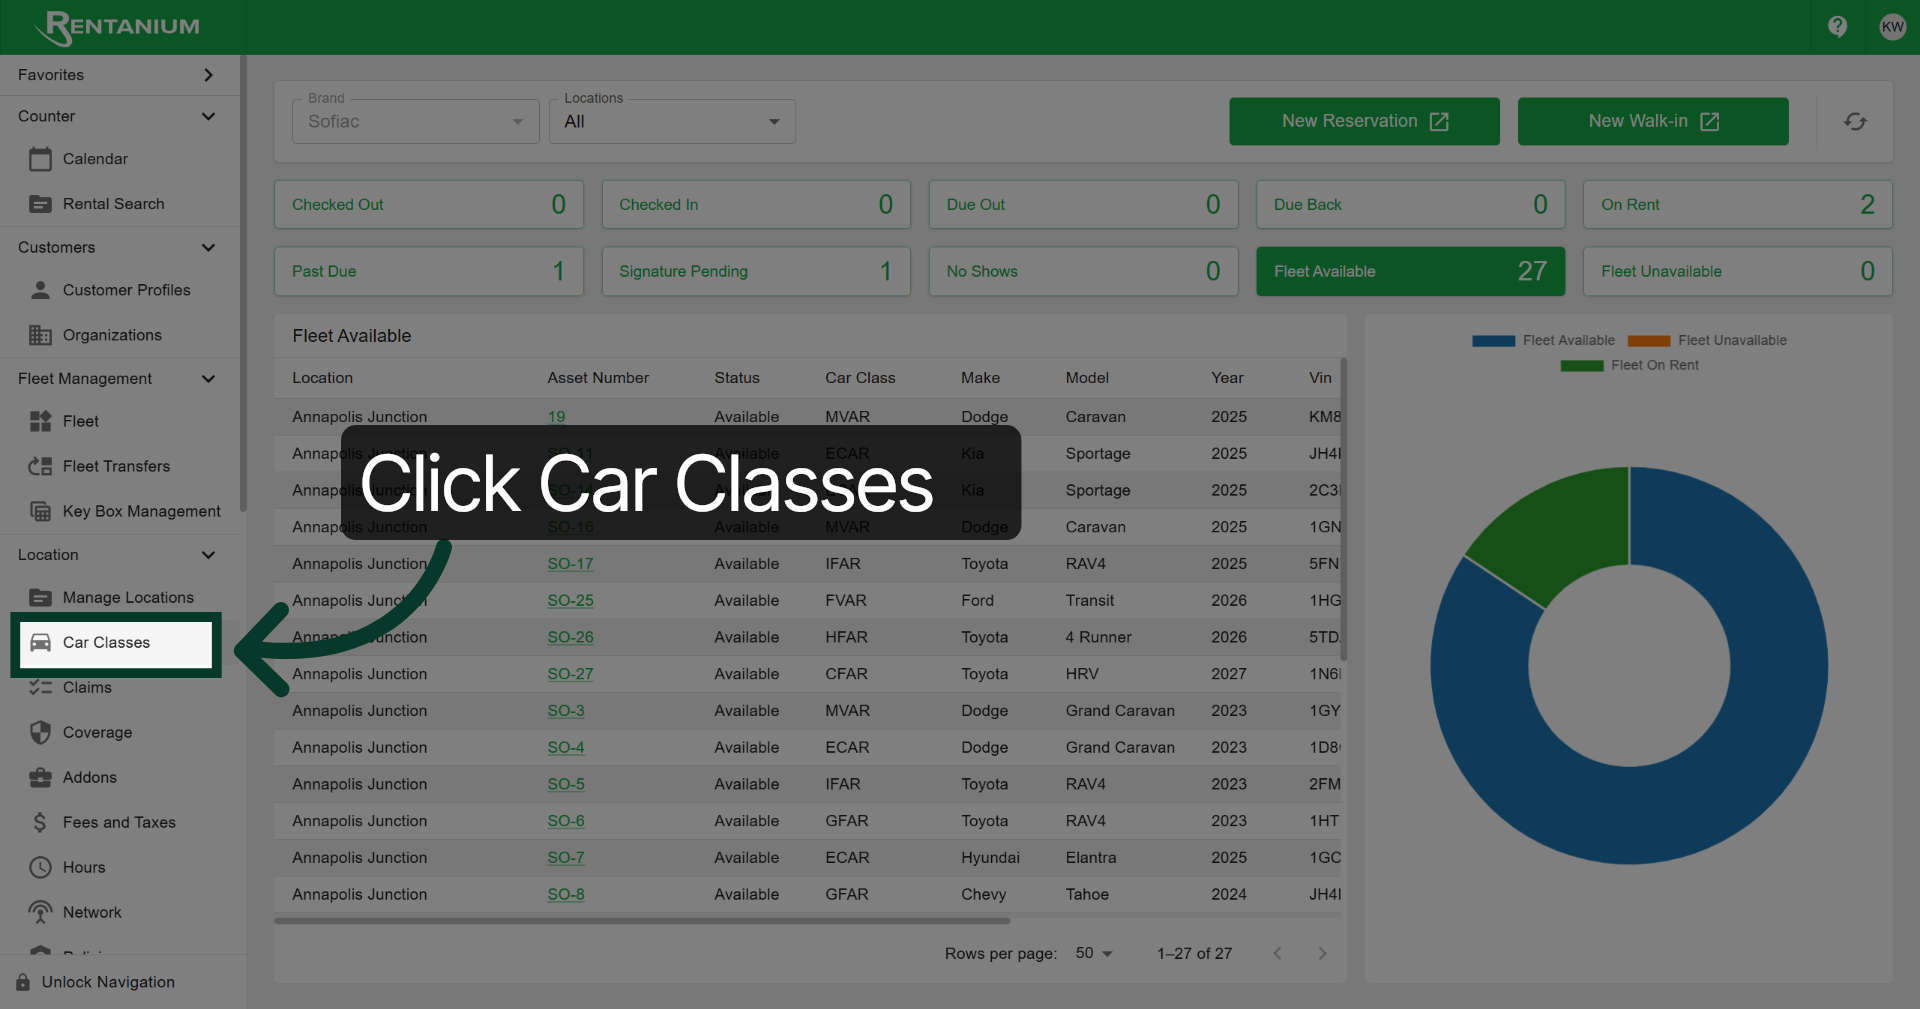
Click "Car Classes" to open the car classification settings.
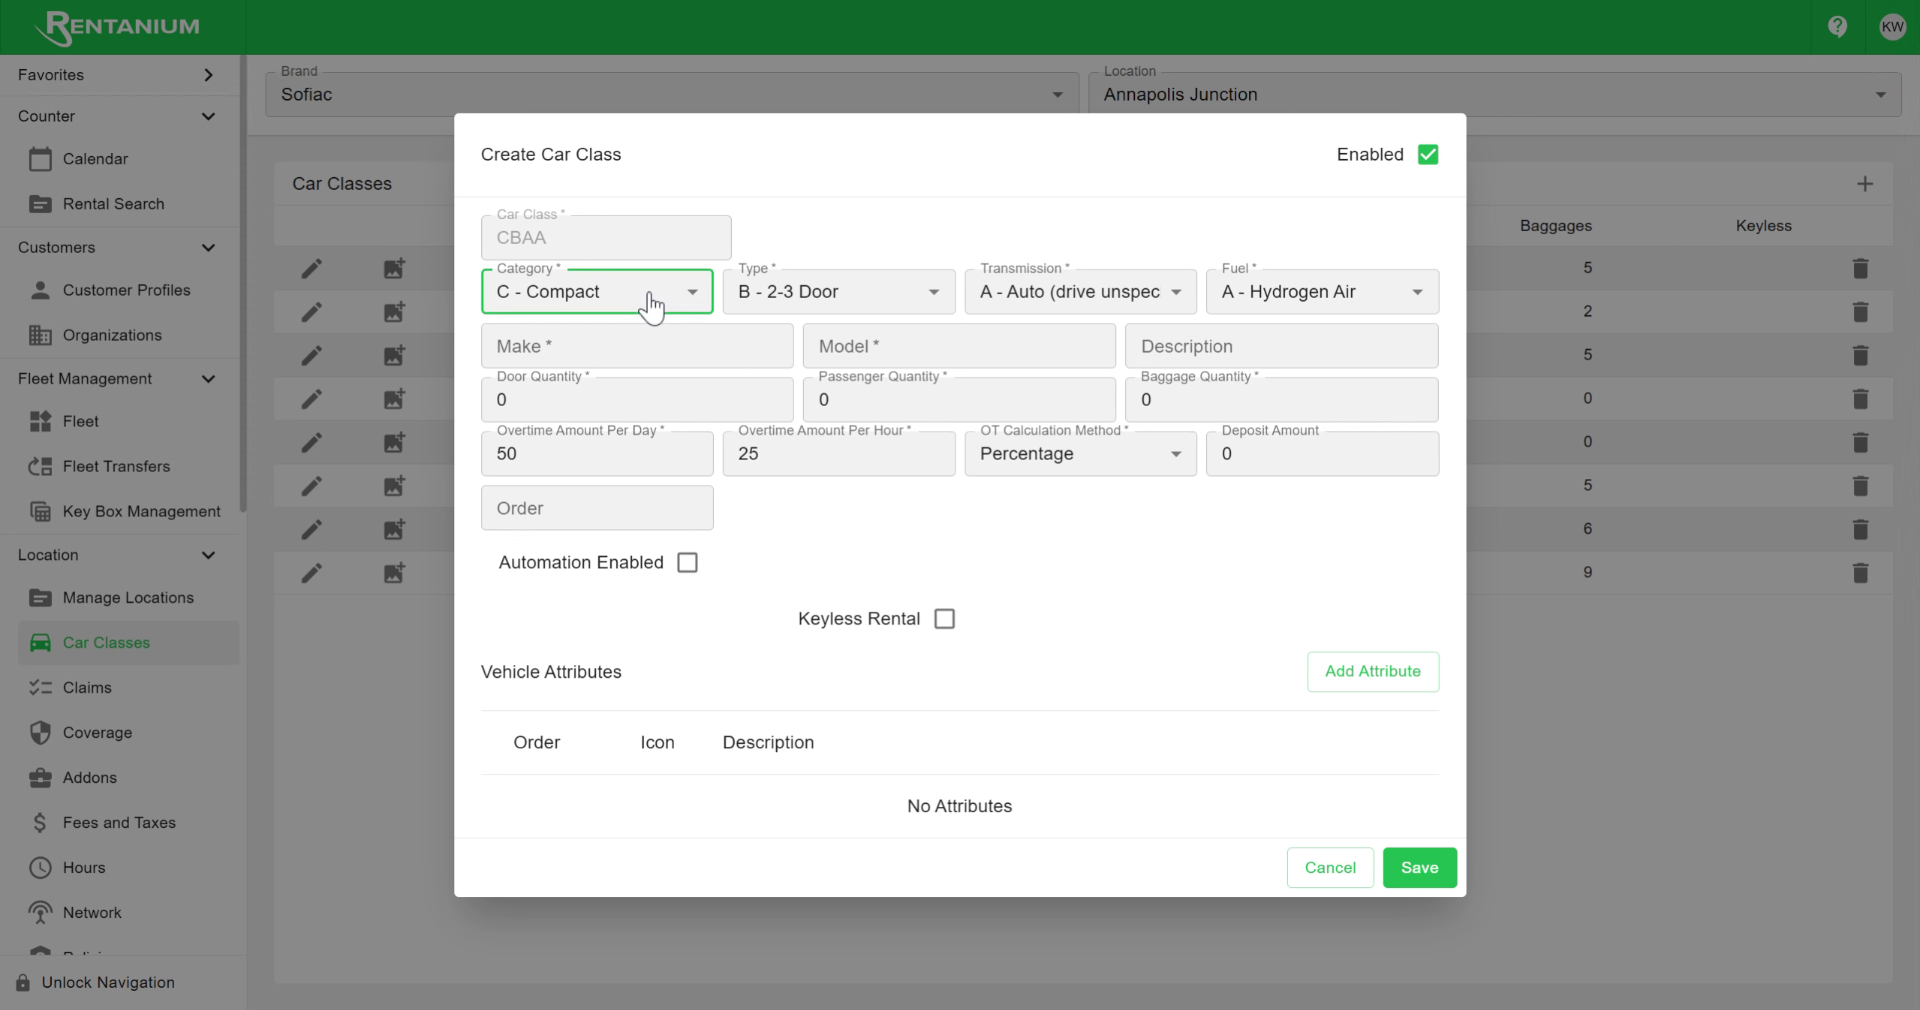
Fill in the mandatory fields, including the class, category, type, transmission, fuel type, make, model, Door Quantity, Passenger Quantity, and Baggage Quantity
Video content
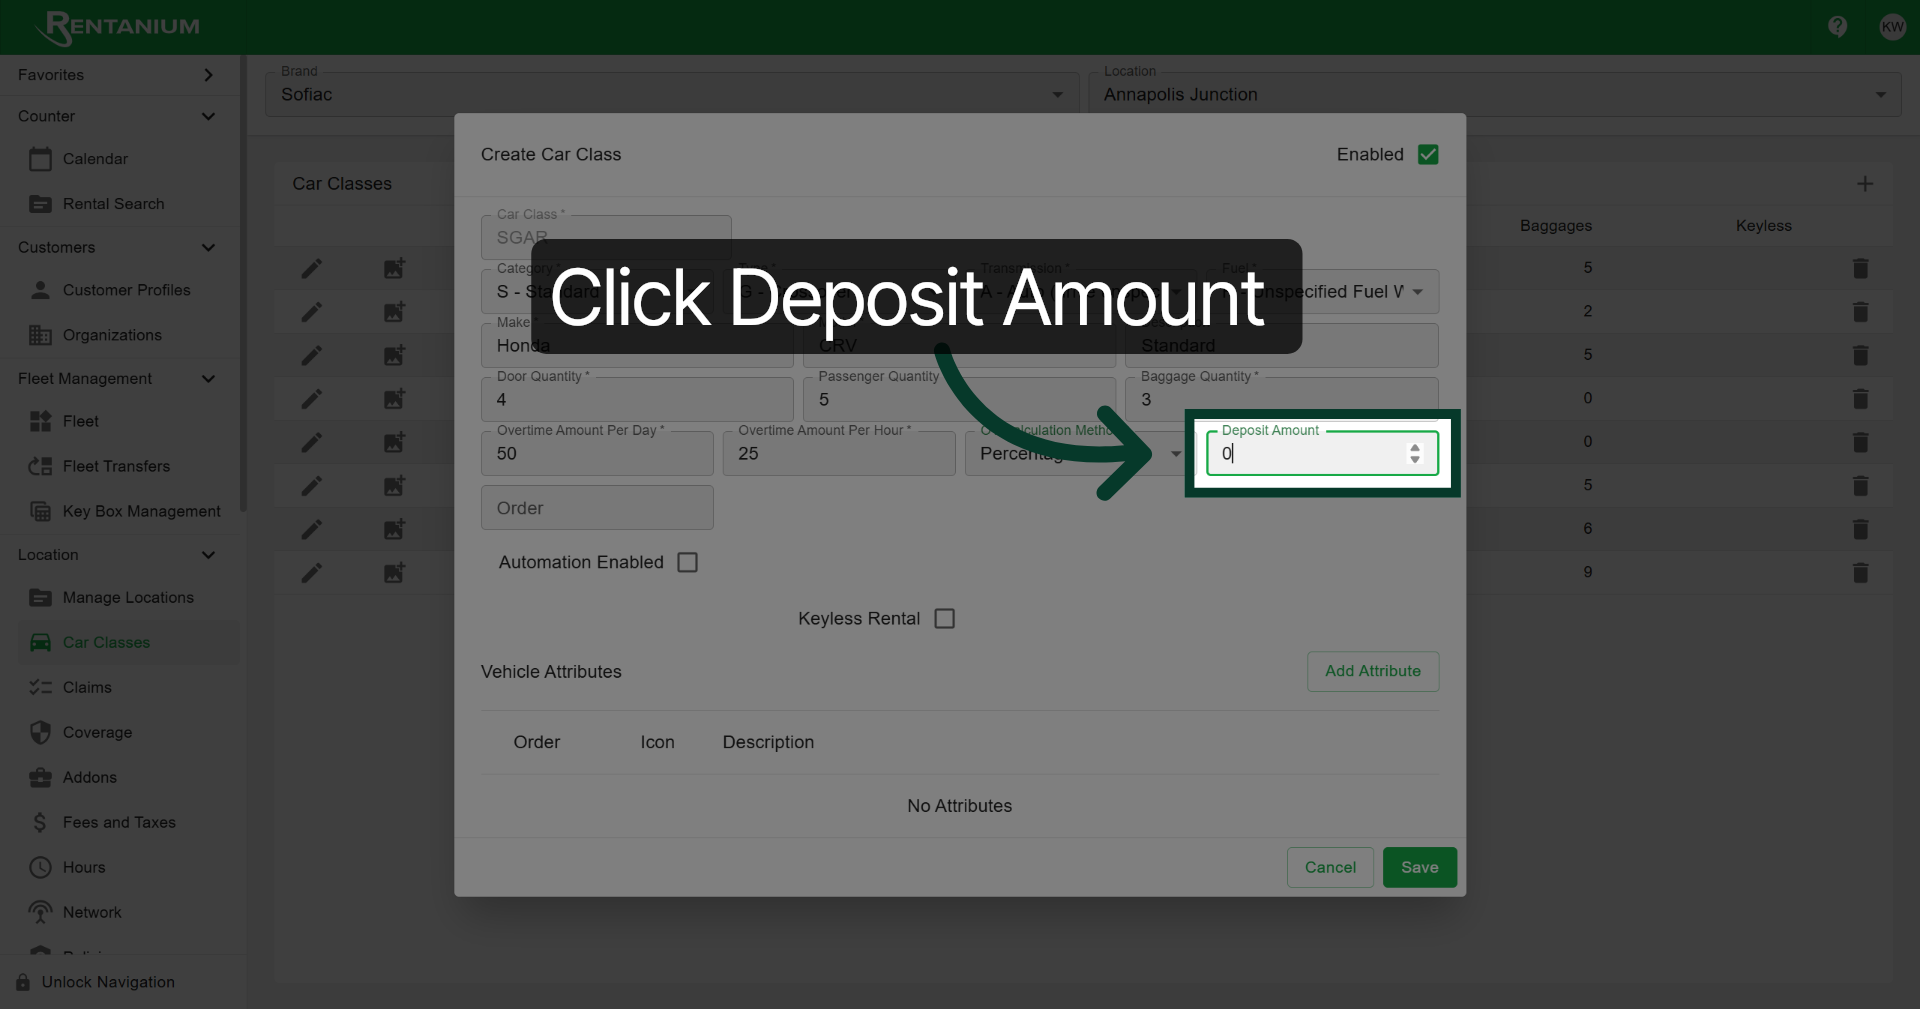
05 Select Deposit Amount Field
Click "Deposit Amount" to specify the deposit value required for this car class.
06
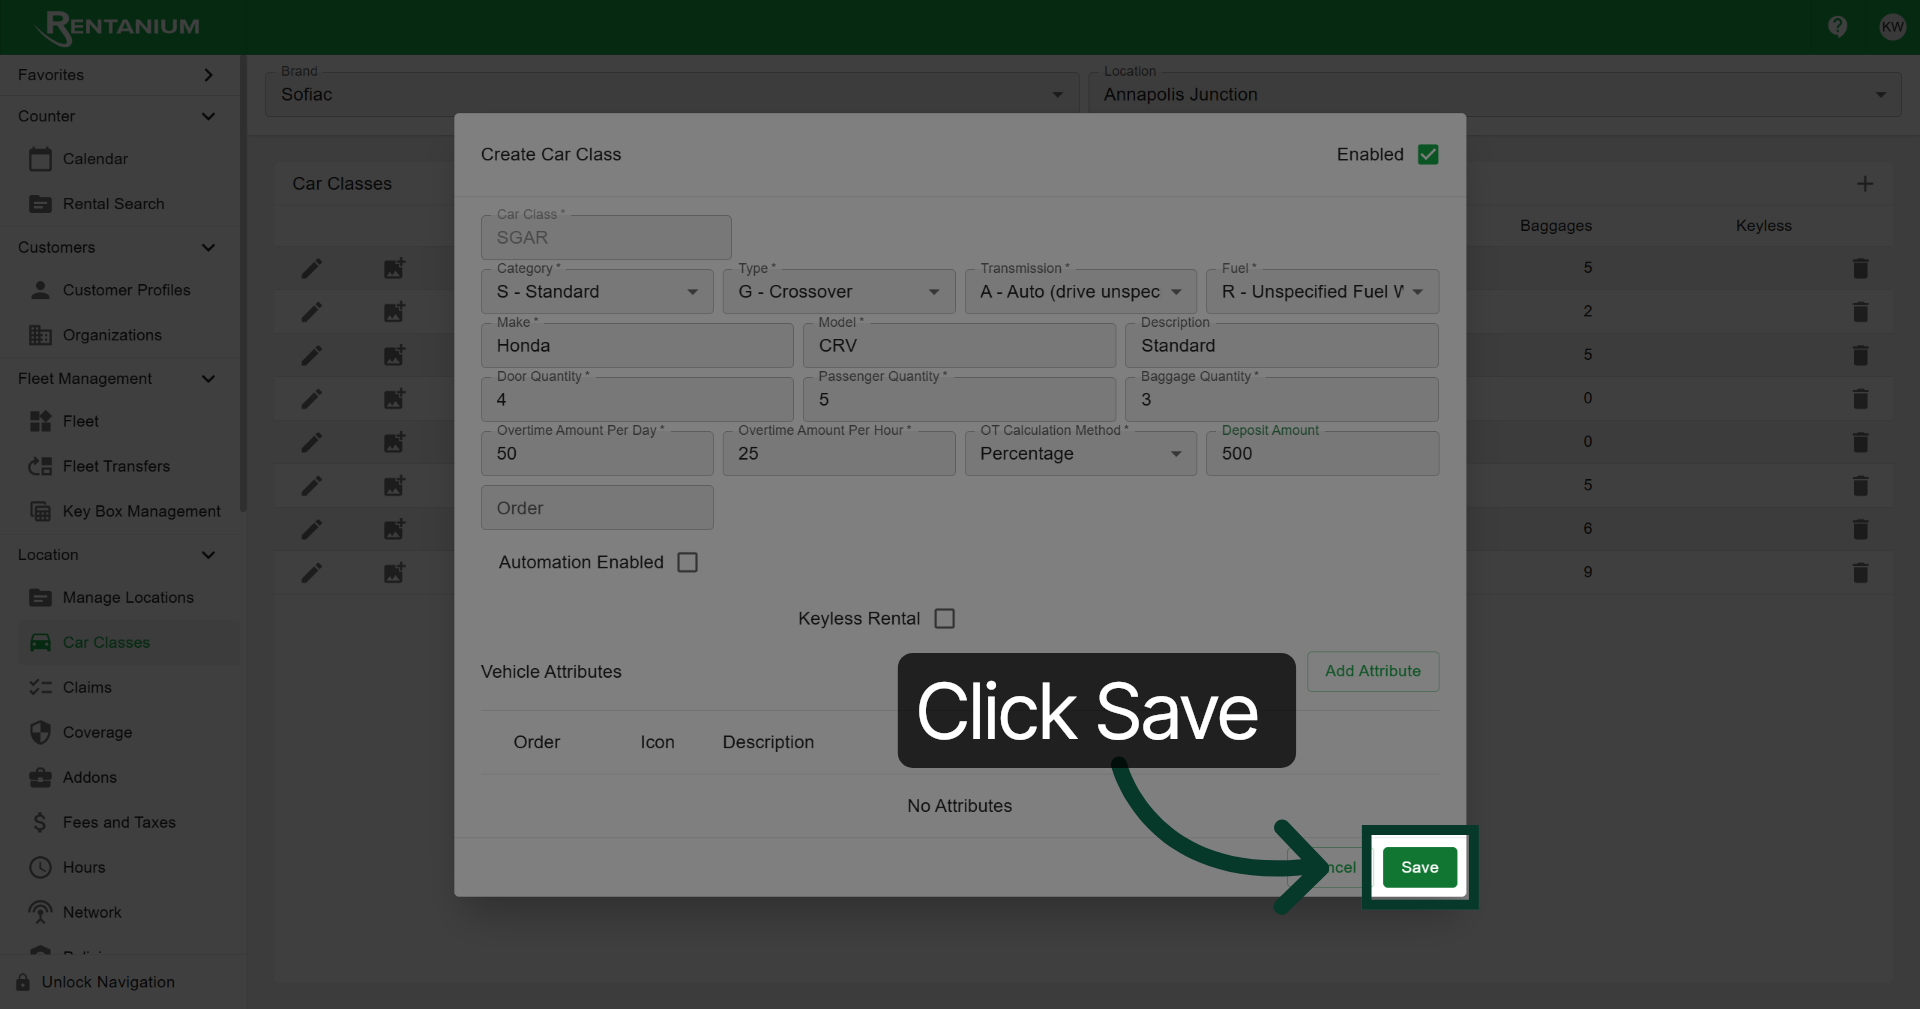
Save Car Class Settings
Click "Save" to apply.
You have successfully added a car class in Rentanium. For additional support, consult our help articles or reach out to your Rentanium software representative.